
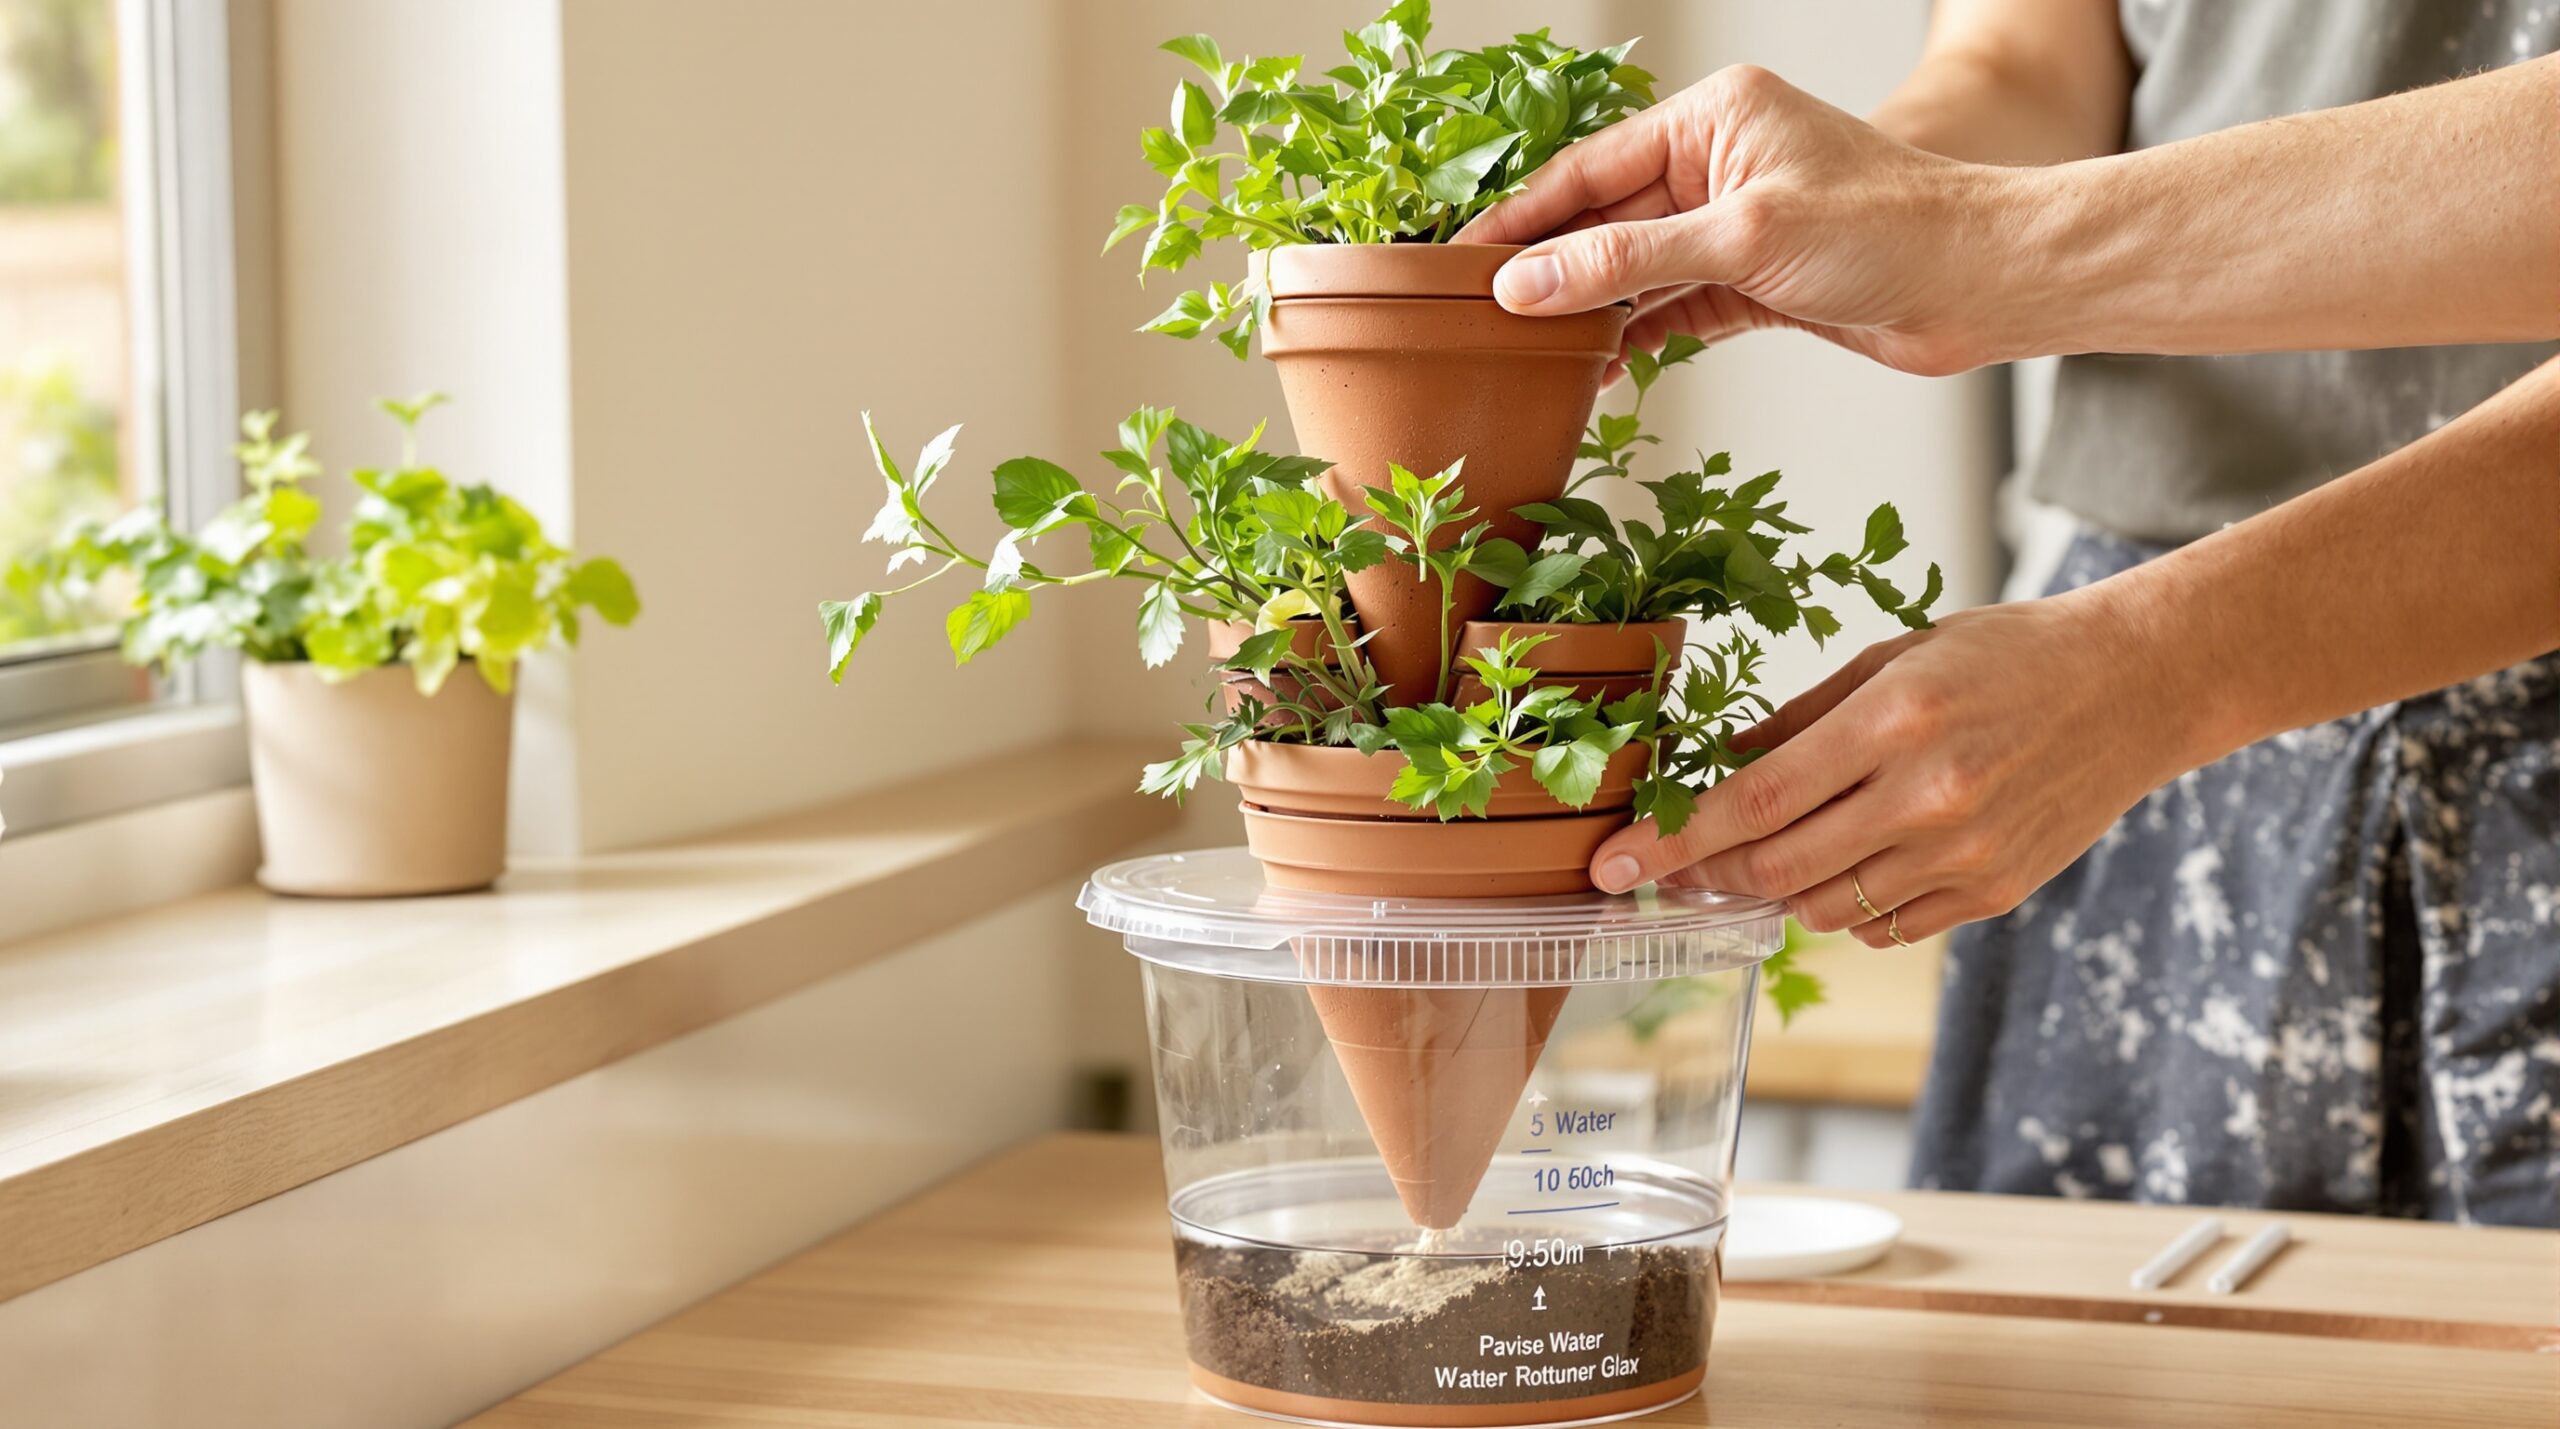
Grow fresh herbs indoors without daily watering duties. This tower uses stacked terracotta spikes and a bottom reservoir. Capillary action moves water upward through wicks and porous clay surfaces. Your herbs receive steady moisture and strong root aeration. The result is healthy growth, fewer pests, and fewer watering mistakes.
How the System Works
Terracotta releases water slowly through microscopic pores. Wicking rope pulls water from a lower reservoir to the spikes. Each spike hydrates the surrounding potting mix and plant roots. The system balances flow with evaporative demand automatically. Warmer rooms draw more water through the wicks. Cooler rooms slow the flow naturally.
Materials and Tools
- Eight to twelve terracotta watering spikes, bottle style or cone style.
- Food-safe silicone sealant and several silicone O-rings.
- Four to six meters of 5 mm polyester or nylon wicking rope.
- One reservoir bin, 10 to 15 liters, with lid.
- One bulkhead fitting for the reservoir overflow.
- One small grommet for wick passthrough in the reservoir lid.
- Lightweight potting mix for herbs, with 30% perlite added.
- Expanded clay pellets or coarse perlite for drainage zones.
- A vertical shell: mesh cylinder, wire frame, or stacked rings.
- Geotextile or landscape fabric for pocket liners.
- Zip ties, stainless screws, and a utility knife.
- Optional moisture meter and a simple float gauge.
Design Dimensions and Capacity
Keep the tower height manageable for capillary lift. A 60 to 90 centimeter height performs reliably without pumps. Plan three to four herb pockets per tier. Twelve to sixteen pockets suit a family kitchen. A 12-liter reservoir supports one to two weeks between refills. Your actual interval depends on room humidity and herb types.
Step-by-Step Build
Prepare the Reservoir
Choose a sturdy food-grade bin with a tight lid. Install a bulkhead overflow near the top rim. Set the overflow level two centimeters below the lid. Attach a drain tube to route spills into a catch tray. Drill a small lid hole for the wick bundle grommet. Deburr the hole to protect the wicks from abrasion.
Stack and Seal the Terracotta Spikes
Clean each spike with warm water and a brush. Dry thoroughly before sealing sections together. Align the open neck of one spike with the tip of the next spike. Seat an O-ring between mated faces for cushioning. Apply a thin bead of silicone around the joint. Press the pieces together and wipe excess sealant cleanly.
Build a column with three spikes per tier. Leave small gaps between tiers for soil pockets. Create at least three tiers for good capacity. Let the silicone cure for 24 hours before assembly. This stack forms the porous core of your tower. It will distribute moisture evenly along its height.
Install the Wick Backbone
Cut a continuous wick long enough to reach the top tier. Allow extra length for knots and routing. Thread the wick through the center of the terracotta stack. Tie a large knot at the top to prevent slippage. Leave a 30-centimeter tail at the bottom of the reservoir. The wick feeds moisture into every tier consistently.
Build the Tower Shell and Plant Pockets
Create a vertical shell using a sturdy mesh cylinder. You can shape galvanized mesh and secure it with ties. Line the inside with geotextile to hold soil. Cut horizontal slits for pocket openings at each tier. Size each opening for a small herb root ball. Space pockets evenly around the terracotta core.
Position the terracotta stack in the center. Use a small support bracket at the base for stability. Pack a drainage layer around the base using clay pellets. Add moistened potting mix around the terracotta stack. Avoid compressing the mix tightly. You want air channels for roots and wicking movement.
Charge and Test the Wicking System
Pre-soak the wicking rope in clean water for ten minutes. Fill the reservoir halfway and pass the wick tail through. Seat the grommet snugly to reduce evaporation. Place the tower base into a waterproof tray. Slowly pour water onto the terracotta core. Watch for darkening that shows absorption, which confirms porosity.
Let the system sit for one hour. Check for dampness along the entire column. Add water to the reservoir until the overflow weeps. Confirm that the wick is saturated but not dripping. Adjust the wick tail length to fine-tune flow. Longer submersion increases delivery. Shorter submersion decreases delivery in dry rooms.
Planting and Initial Establishment
Select compact herbs with compatible moisture needs. Basil, parsley, mint, chives, and cilantro like steady moisture. Thyme, oregano, and rosemary like slightly drier pockets. Group moisture lovers closer to the reservoir zone. Place drought-tolerant herbs higher on the tower. This arrangement balances capillary supply and plant demand.
Plant starts into pre-cut pockets with gentle handling. Tuck roots into the moist mix surrounding the terracotta. Firm the mix lightly for good root contact. Top-water each pocket once to settle soil. After that, let the wick and terracotta maintain moisture. New roots will explore the damp zone within days.
Watering Rates and Seasonal Adjustments
Expect summer rooms to increase water demand. A 12-liter reservoir may last seven days during active growth. Winter rooms often halve that demand significantly. Check the float or peep into the reservoir weekly. Adjust wick submersion to match seasonal changes. Add a second wick tail if leaves droop in the heat.
Keep each pocket evenly moist but never soggy. Terracotta releases water slowly, which helps prevent overwatering. Humidity trays near the tower reduce leaf stress. Gentle airflow prevents mildew and fungus gnats. A small fan on low works well indoors. Aim for bright light with a south or west window.
Maintenance and Troubleshooting
- Clean salt buildup on terracotta with a vinegar wipe monthly.
- Rinse or replace wicking rope every six months for performance.
- Refresh the top two centimeters of mix each season.
- Flush the system with plain water after fertilizer use.
- Inspect all silicone joints for cracks annually.
If upper tiers stay dry, lower the wick tail deeper. If pockets seem wet, raise the wick tail slightly. Brown leaf tips often indicate salts or dry air. Improve airflow and reduce fertilizer strength. Pale leaves may need more light or balanced nutrients. Prune regularly to keep plants compact and vigorous.
Safety and Indoor Considerations
Place the tower on a waterproof boot tray. Protect floors from occasional drips during refills. Keep the overflow tube directed into a container. Choose food-safe materials for all water contact surfaces. Avoid copper near roots unless sealed properly. Wash your hands after handling fertilizers and sealants.
Customizations and Upgrades
Add a clear sight tube to the reservoir front. You can monitor water levels without opening the lid. Install a simple float indicator for quick checks. Swap the mesh shell for a decorative wooden frame. Use removable fabric pockets for easy replanting. Add grow lights for low-light kitchens or winter days.
You can also change the core configuration. Combine short spikes and clay beads for broader wetting. Insert cross wicks at each tier for faster distribution. Add a top cap to reduce evaporation from the terracotta. Experiment with pocket spacing to suit larger basil plants. Keep modifications reversible for maintenance ease.
Cost and Sourcing Tips
Terracotta spikes are widely available online. Buy in multipacks to reduce the cost per piece. Choose unglazed, high-fired spikes for durability. Food-safe silicone is inexpensive and lasts for years. Polyester wicks outlast cotton wicks in wet systems. Repurpose a storage bin as a reservoir to save money.
Quality potting mix matters for capillary action. Choose a mix with perlite and fine fibers. Avoid garden soil indoors, which compacts easily. Landscape fabric and mesh are affordable at hardware stores. Collect a waterproof tray from a pet store section. Value choices keep the project within a modest budget.
Why This Tower Grows Herbs So Well
Herbs dislike drying out completely between waterings. The wick and terracotta keep moisture steady and predictable. Roots receive water and oxygen together. That combination promotes dense, flavorful growth. The tower format also saves counter space efficiently. Vertical planting boosts light access on sunny sides indoors.
Terracotta moderates short-term watering mistakes gracefully. Extra water diffuses slowly without waterlogging roots. The reservoir isolates standing water from root zones. That separation reduces fungus gnat risks significantly. Overall, the system reduces labor while improving plant health. It suits busy cooks and enthusiastic beginners equally well.
Final Tips for Success
- Group herbs by moisture preferences across tiers.
- Trim frequently to promote branching and vigor.
- Feed lightly every two weeks during active growth.
- Leach with plain water monthly to reduce salts.
- Rotate the tower weekly for even light exposure.
You now have a reliable indoor herb tower plan. The stacked terracotta spikes provide even, quiet hydration. The passive reservoir reduces maintenance without electronics. With thoughtful planting and simple care, harvests stay steady. Enjoy fresh flavors from a compact, self-watering garden year-round.