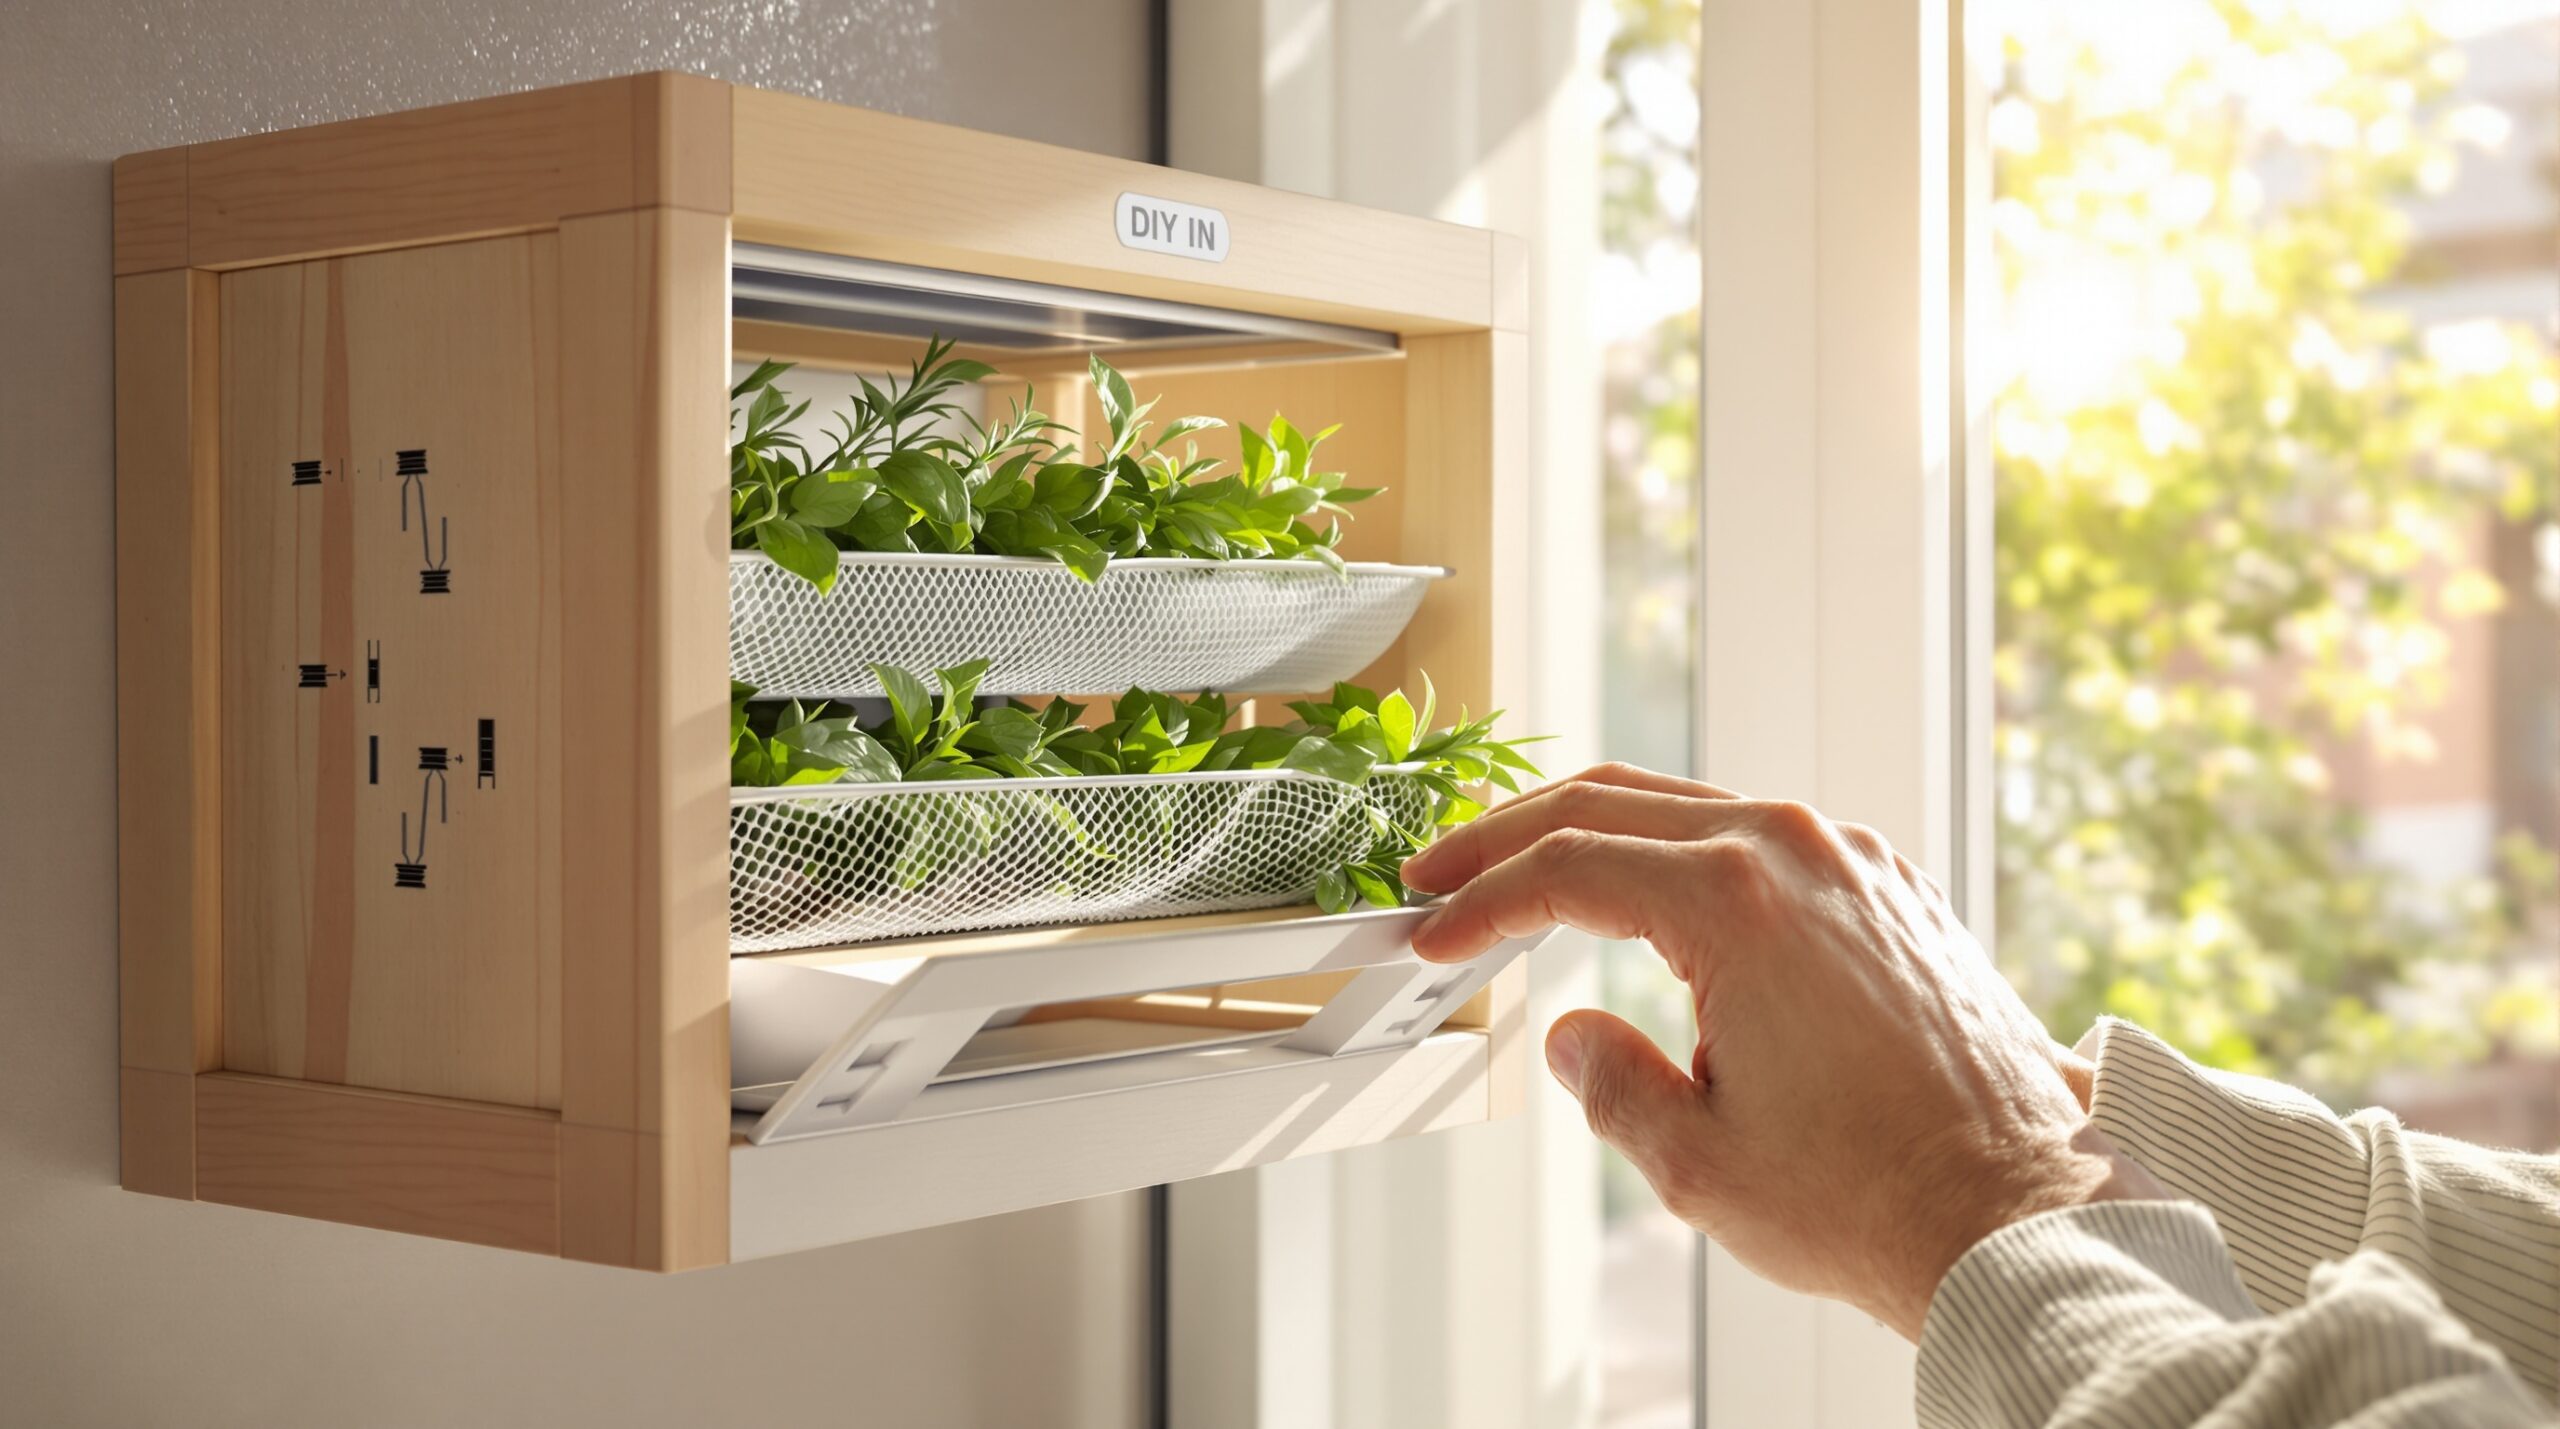
Dry your garden herbs using sunlight, steady airflow, and a clever window insert. This project turns a sunny window into a gentle, solar-powered dryer that preserves aroma and color. You will build a slim frame, add a simple solar collector, and channel air through 3D-printed vents. The result dries herbs faster than hanging bundles, while using free energy.
The design uses passive heating and a light stack effect to move air. You can augment airflow using a small solar fan when sunlight is strong. Adjustable vents let you tune temperature and moisture removal with precision. Each part stays modular for cleaning, upgrades, and seasonal storage.
Design Overview
The dryer fits within an operable window opening or a sliding window track. Sun warms a dark collector panel behind a clear layer, creating a gentle convection current. Warm, dry air flows upward through mesh trays holding herbs, then exits through a top vent. The goal maintains 30 to 40°C air across the leaves.
This temperature range safeguards essential oils and color. Higher temperatures can flash off delicate flavors and flatten aromas. Reliable airflow prevents mold, even on thicker leaves like sage or bay. The window location ensures ample sunlight while saving floor space.
Materials and Tools
Use thin plywood, sealed hardwood, or rigid foam board for the window insert frame. Clear acrylic or polycarbonate works well for glazing the solar side. Choose a dark, matte aluminum sheet or black-painted thin steel for the absorber. Food-grade stainless steel mesh supports and protects your herbs.
Print vents in PETG, ASA, or ABS for heat resistance and durability. PLA can deform under sun-warmed conditions and prolonged heat. Add weatherstripping, silicone sealant, and stainless screws for assembly. Gather a small 5V or 12V solar panel, a matching DC fan, and a diode.
Sizing and Airflow Targets
Size the insert to fill the window opening with a snug, sealed fit. Target a gentle airflow of 3 to 8 air changes per hour in the herb chamber. For a chamber volume of 20 liters, aim for 1 to 3 liters per minute. This flow removes moisture without turning delicate leaves brittle.
Design vent cross-sections to avoid sharp restrictions. Keep inlet and outlet cross-sectional areas at least 25 square centimeters each. Use adjustable louvers to fine-tune flow and temperature during changing sun conditions. Include a removable baffle to reduce nighttime reverse flow.
Build the Window Frame
Measure the window opening and subtract 3 to 5 millimeters for an easy fit. Cut frame pieces and dry-fit them to check squareness and seams. Glue and screw the frame, then seal all interior joints with silicone. Add compressible weatherstripping along the perimeter for a tight seal.
Plan for quick installation and removal using simple turn buttons or magnets. A tight seal improves efficiency by preventing air leaks and condensation. Label the top edge to speed seasonal repositioning. A painted or sealed frame will resist humidity and sunlight.
Make the Solar Collector
Mount the dark absorber panel on standoffs behind the clear glazing. Leave a small plenum at the bottom for incoming air. Space the glazing 10 to 20 millimeters from the absorber to trap heat. Seal the glazing perimeter to prevent dust and heat loss.
Paint the absorber with high-temperature matte black paint for better absorption. Avoid off-gassing coatings near food areas until fully cured. Add a reflective foil backer behind insulation to reduce radiant losses. Include an access path to clean the glazing when needed.
Build the Drying Chamber
Place the drying chamber above the collector path to capture rising warm air. Install two or three mesh trays with 30 to 40 millimeters vertical spacing. Use stainless mesh with fine openings to support small leaves. Create a gasketed door or sliding panel for loading trays.
Line interior walls with smooth, cleanable surfaces. Avoid wood dust, splinters, or flaking paint near herbs. Provide drainage or a removable tray to capture shed leaves or stems. Keep corners rounded to reduce dead zones and improve airflow.
Design and Print the Airflow Vents
Model two vent types: a lower intake diffuser and an upper exhaust louver. The intake diffuser spreads warmed air evenly beneath the lowest tray. The exhaust louver controls draw and blocks nighttime backdrafts. Include finger tabs for quick adjustments during drying.
Print vents in PETG or ASA at 0.2 millimeter layers for good strength. Use 3 to 4 perimeters for better heat resistance. Set infill around 25 to 35 percent to reduce weight and warping. Add brass inserts or captive nuts where screws may bite.
Design curved channels with radiused transitions to reduce pressure drop. Keep minimum wall thickness at least 1.2 millimeters for durability. Consider magnet seats for snap-in dust screens and aroma filters. Label arrows for airflow direction during assembly.
Solar Power and Optional Fan
Select a small solar panel matched to your fan voltage. A 5V panel suits USB blower fans. A 12V panel suits 80 millimeter case fans. Size the panel around 3 to 6 watts for modest airflow.
Wire the panel to the fan with a Schottky diode to prevent reverse current at dusk. Add a simple on/off switch for manual control. Mount the fan to pull air from the chamber outlet for best mixing. Use a printed shroud to reduce noise and recirculation.
Assembly Steps
Install glazing and absorber onto the lower frame section. Attach the intake diffuser at the collector’s bottom plenum. Mount the drying chamber above the collector with a good seal. Fit mesh trays and confirm smooth insertion and removal.
Attach the upper exhaust louver and optional fan shroud. Route wiring neatly and secure connections with heat-shrink. Add weatherstripping along contact edges and the loading door. Finally, fit the whole insert into the sunny window opening.
Testing and Commissioning
Start on a bright day and place a thermometer probe near the top tray. Record inlet and outlet temperatures every 15 minutes initially. Use a small incense stick to visualize airflow direction and smoothness. Adjust vents until temperatures stabilize between 30 and 40°C.
If temperatures exceed 40°C, open the exhaust more or tilt the insert slightly. Introduce a thin shade strip along the glazing if needed. If airflow seems weak, reduce internal restrictions or increase intake opening. The fan can assist during early drying when moisture is highest.
Drying Process Guidelines
Harvest herbs after dew evaporates and before strong afternoon sun. Wash gently if needed and spin leaves dry. Remove thick stems that slow drying and crowd trays lightly for good exposure. Keep a single leaf layer whenever possible.
Most tender herbs dry within one to three days in good sun. Thicker leaves can require three to five days. Check crispness by crumbling a test leaf between fingers. Store fully dry herbs in airtight jars away from light.
Maintenance and Safety
Clean meshes and vents after each batch to remove dust and oils. Wipe glazing to maintain strong solar gain. Inspect printed parts for warping or UV damage annually. Replace gaskets if you notice leaks or rattling.
Keep the absorber paint intact and rust-free. Avoid placing flammable materials near the collector path. Install a small thermal sticker as an overheat indicator. Never dry oily rags or anything except food herbs.
Troubleshooting and Optimization
If you see condensation, increase exhaust opening or add a thin desiccant sachet. Persistent dampness often indicates overcrowded trays. Reduce loading density and improve spacing around stems. Warmer intake air also helps reduce condensation risk.
Uneven drying suggests channeling or blocked mesh zones. Add a small diffuser ridge under tight areas. Re-level the insert so gravity does not bias the flow. Rotate trays daily to even exposure.
If aromas intermingle, dry strongly scented herbs separately. Use a removable carbon pre-filter on the exhaust. Replace filters regularly to maintain airflow. Record settings that produced your best results for repeatability.
Cost, Sustainability, and Upgrades
Most builds cost less than a compact electric dehydrator. You also avoid ongoing energy costs during sunny months. The design uses simple parts and printable components, reducing waste. Off-season storage requires only a slim corner or closet.
Consider upgrades like a hinged glazing panel for easier cleaning. Add a small data logger for temperature and humidity tracking. Try a selective surface absorber paint for improved efficiency. Integrate magnetically attached vents for fast seasonal swaps.
3D Modeling Tips for Custom Vents
Use parametric dimensions for throat width, vane angle, and louver spacing. This approach simplifies later tuning and reprints. Include fillets on internal edges to reduce turbulence and noise. Export test segments to confirm printer tolerances before full prints.
Print small airflow test coupons and measure pressure drop with a simple U-tube manometer. Adjust vane angle until pressure drop falls acceptably. Balance flow control with easy manual adjustment. Label the final design with engraved scale marks.
Enjoy Sun-Powered Flavor
This window dryer turns sunlight into a steady stream of gentle, aromatic air. Your herbs keep brighter color, fresher aromas, and cleaner flavors. The printed vents give precise control without complex electronics. With a weekend of work, you gain a lasting kitchen companion.
Start with a simple frame and expand features as your harvests grow. Track what works through seasons and different herb types. Soon, you will master adjustments by feel and scent. The sun will do the rest, quietly and reliably.