
Portable energy unlocks freedom for camping, work sites, and emergency preparedness. A compact solar-powered battery bank provides reliable off-grid charging for everyday devices. You can build one with a modular 3D-printed case and a smart BMS. This approach balances safety, durability, and easy customization. Let’s walk through the design, components, and practical steps to assemble a robust system.
Project Overview and Goals
This project targets a portable 12-volt class battery with smart monitoring and efficient solar charging. The design uses a smart BMS for protection and accurate state-of-charge reporting. A 3D-printed modular enclosure keeps weight low and parts accessible. The system supports USB-C PD, 12-volt DC, and optional inverter output. With thoughtful planning, you can scale capacity and outputs over time.
Choosing a Battery Chemistry and Capacity
LiFePO4 cells offer excellent cycle life, stable voltage, and improved thermal safety. They also maintain capacity across many years of use. A common configuration uses four cells in series for a 12.8-volt nominal pack. Capacity depends on your energy needs and portability goals. Start with 20 to 40 amp-hours for day trips, and expand later if needed.
Prismatic LiFePO4 cells simplify assembly with bolted terminals and robust casing. Cylindrical cells work too, but require careful spot welding and insulation. Match cells by capacity and internal resistance for balanced charging. Keep a safety margin and avoid stressing cells near maximum ratings. A balanced pack delivers better performance and longer life.
Smart BMS Features That Matter
A smart BMS protects the pack and provides useful telemetry. Look for cell-level monitoring, temperature sensors, and low-temperature charge protection. LiFePO4 cells should not charge below freezing temperatures. Bluetooth connectivity with a reliable app simplifies setup and diagnostics. Adjustable protection limits let you tailor behavior to your use case.
Ensure the BMS supports your maximum continuous and peak currents. Include short-circuit protection and passive or active cell balancing. Balance current affects how quickly cells equalize after charging. Higher balance current reduces wait times after long storage. A dependable BMS preserves your investment and builds confidence.
Solar Input and Charge Control
An MPPT charge controller maximizes energy harvest from solar panels. For portability, choose a 60 to 120-watt folding panel. Configure the controller for LiFePO4 charging voltages and temperature compensation. Many users disable float for LiFePO4 to reduce idle stress. You can also set a conservative absorption voltage for longevity.
Match the controller’s current rating to your panel and battery capacity. Oversized slightly for future panel upgrades. Use MC4 connectors for reliable outdoor connections and quick setup. Add an input fuse near the controller to protect wiring from faults. A tidy solar stage improves efficiency and system safety.
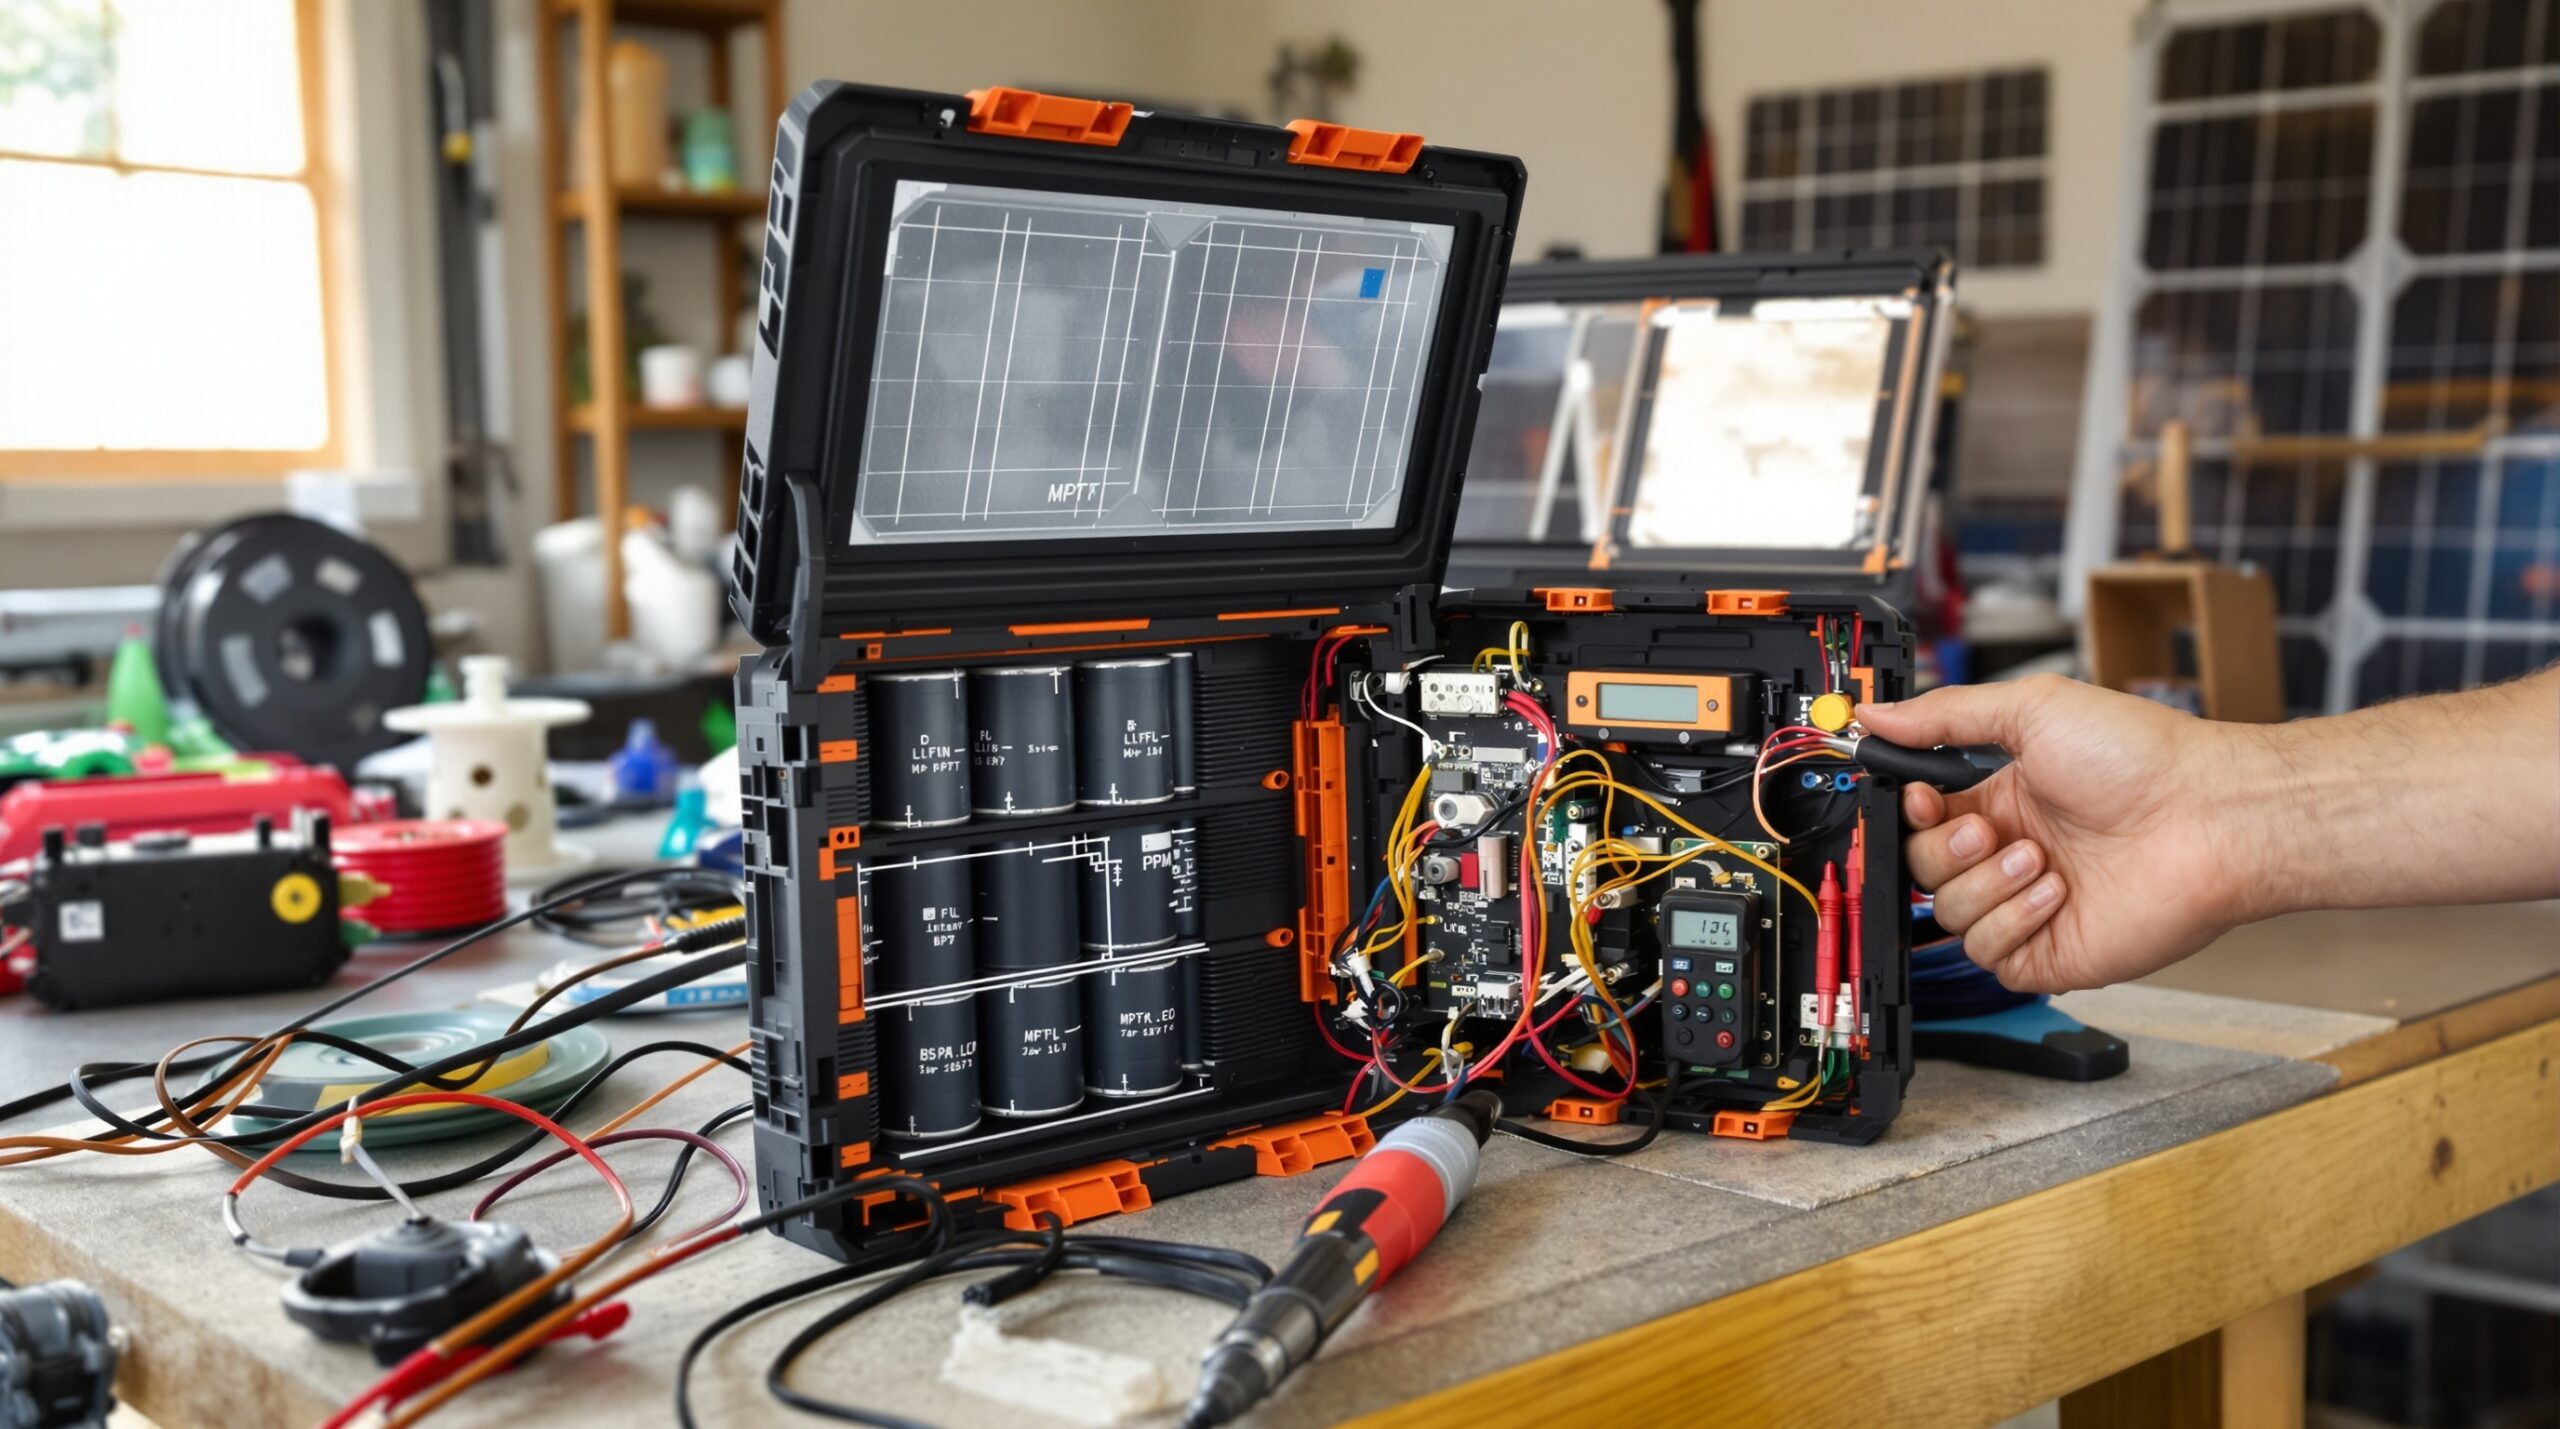
Modular 3D-Printed Case Design
A modular enclosure simplifies transport, service, and upgrades. Print the case in PETG or ABS for better heat resistance than PLA. Use interlocking sections for cells, controller, BMS, and output modules. Add ventilation slots, cable channels, and labeled covers for clarity. Heat-set brass inserts provide durable threads for repeated access.
Design removable panels for outputs and future accessories. Include standoffs for PCBs, wire tie points, and strain relief features. Provide clearance around terminals and sense wires to prevent chafing. Add rubber feet and a handle for field use. With a solid print, the enclosure feels professional and secure.
Electrical Layout and Protection
Plan a clear power path from the pack to the loads. Place a main fuse or breaker near the battery positive terminal. Use appropriately sized wire for expected currents and minimal voltage drop. Twelve AWG suits moderate loads and keeps resistance low. Use smaller gauges for signals and short accessory runs as appropriate.
Standardize connectors for simplicity and safety. Anderson Powerpole connectors work well for 12-volt outputs and modular accessories. Add USB-C PD using a buck converter with a PD trigger or dedicated module. Include an anti-spark connector for inverters or capacitive loads. Label everything clearly to speed troubleshooting and prevent mistakes.
Assembly Steps and Practical Tips
Print the enclosure first and verify fit with cardboard templates for components. Dry-fit cells, controllers, and wiring runs before committing. If using prismatic cells, set the correct torque with insulated tools. For cylindrical cells, use a proper spot welder and insulate diligently. Always protect exposed conductors before applying power.
Install the BMS on the pack and connect the sense leads carefully. Route temperature sensors to representative cell surfaces. Secure wires with clips or printed channels to prevent movement. Mount the MPPT controller and verify clearance around heat sinks. Add grommets where wires pass through partitions or panels.
Firmware Configuration and Monitoring
Connect to the BMS app and review factory settings. Set charge and discharge limits to match your cell specifications. Enable low-temperature charge cutoff for LiFePO4 packs. Adjust balance thresholds to maintain tight cell voltage alignment. Calibrate the state-of-charge after a full charge and controlled discharge.
Configure the MPPT controller with a LiFePO4 profile. Verify absorption, float, and rebulk thresholds match your preferences. Watch the current and voltage graphs during the first solar charging. Confirm the controller tracks panel’s maximum power consistently. Fine-tuning now reduces future maintenance headaches.
Testing and Commissioning
Perform initial tests with a bench power supply before connecting panels. Check for parasitic drains and unintended heat under light load. Add loads gradually while monitoring temperatures and voltage sag. Verify BMS cutoffs trigger as configured under controlled conditions. Record baseline performance for future comparisons.
Next, test with the solar panel under clear sunlight. Observe MPPT searching behavior and charging stability through absorption. Confirm output ports deliver the expected current without tripping protections. Listen for coil whine, which can indicate stressed converters. A steady, cool system signals a healthy design.
Safety Considerations You Should Not Skip
Work slowly, use insulated tools, and avoid metallic jewelry. Never short battery terminals, even momentarily. Keep a fire extinguisher nearby and maintain a clean workspace. Charge in a monitored area and avoid charging unattended. Add clear labels and covers over bus bars and terminals.
Consider a vented compartment and temperature monitoring in the enclosure. Avoid enclosing converters without airflow around heat sinks. Do not operate or store the bank in hot vehicles. Inspect wiring regularly for abrasion or discoloration. Prevent battery packs with different voltages from being connected together.
Use Cases and Expansion Paths
This bank supports phones, cameras, routers, and small 12-volt appliances. USB-C PD powers laptops efficiently with the right module. Add a small pure sine inverter for occasional AC needs. Parallel additional modules using fuses and a common bus bar. Match voltages before paralleling to avoid destructive inrush currents.
You can scale solar input with additional panels and a higher-rated controller. Modular cases let you swap or service packs easily. Add a shunt-based monitor for precise amp-hour tracking. Integrate a microcontroller for data logging and automation. Expansion remains simple because the physical layout stays organized.
Maintenance and Longevity
Keep firmware updated on the BMS and controller when possible. Inspect terminals for looseness and retorque as specified. Clean dust from vents and check fans or passive airflow paths. Store partially charged if idle for months to reduce stress. Cycle the pack periodically to verify capacity and health.
Replace worn connectors, grommets, or printed panels when they show fatigue. Monitor cell balance and investigate persistent drift. Avoid deep discharges that stress cells and reduce lifespan. Record service notes to track changes and performance trends. Good care yields reliable power when you need it most.
Cost, Sourcing, and Sustainability
Budget for quality cells, a smart BMS, and an MPPT controller. Expect additional costs for wiring, fuses, and connectors. Print the case with materials you already trust for mechanical parts. Source cells and electronics from reputable vendors with clear specifications. Avoid salvaged cells unless you can test thoroughly and match them.
Modular design reduces waste because you replace only what fails or needs upgrading. Durable prints and standardized hardware extend service life. Efficient solar charging reduces generator runtime and fuel consumption. Local access to spares improves repairability and uptime. Thoughtful choices deliver savings across the system’s lifespan.
Closing Thoughts
A compact solar battery bank empowers off-grid work and adventure. The smart BMS and modular case enhance safety and usability. Careful wiring, robust protection, and tested settings deliver confidence. With incremental upgrades, your system grows alongside your needs. Build it well, and enjoy dependable power anywhere sunlight reaches.